How to make your own Embossing Stencils
Posted: Tue Jun 02, 2015 5:02 pm
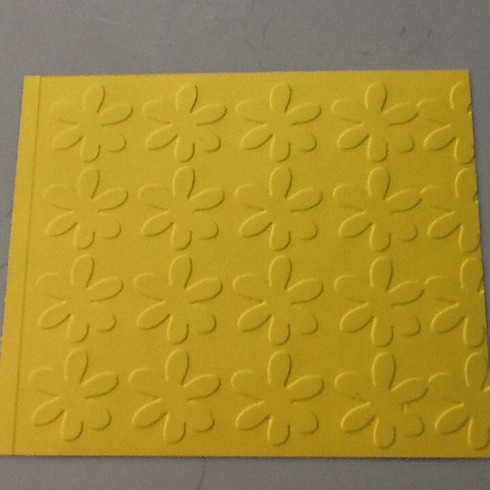
Hi everyone - I am new to embossing folders and I really like how they add texture to your papers. I ended up making my own embossing stencils that I have used in my Spellbinders Grand Calibur and my old, heavy original red Sizzix machine (with adapter). It wasn't hard at all, once I got the spacing right. It took a little trial and error, but, heck, it's free, so what do you have to lose? (Note: My photos were not taken at the same time - so my examples are in yellow and pink.)
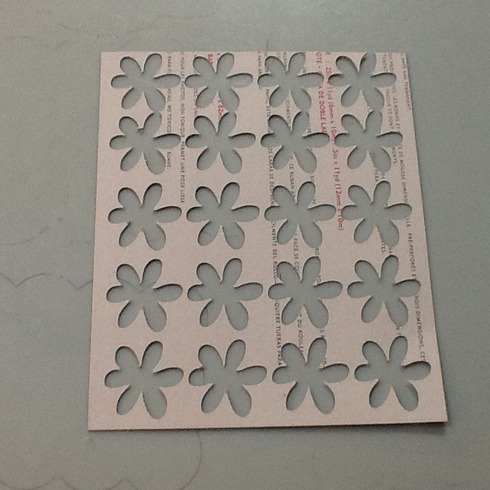
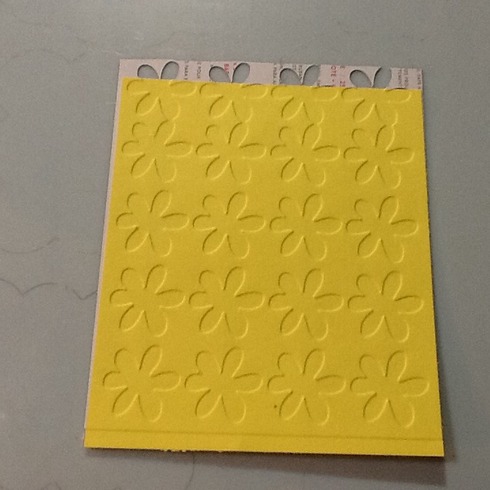
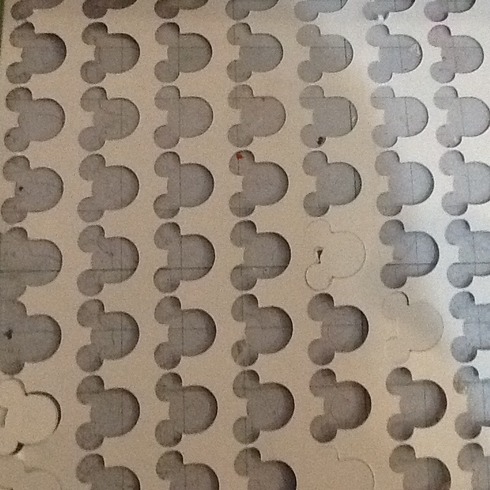
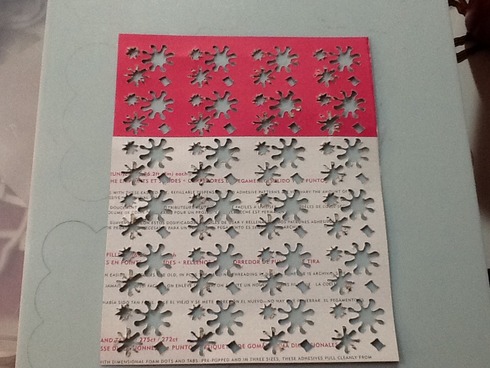
I used the thin cardboard covers of paper pads and cereal boxes and my Cricut to make my stencils. I used the multicut feature to help cut through the thicker material and it worked great. So I had the Cricut cut a line of daisies through the cardboard. I repeated this until I had several rows of daisies cut from the cardboard. (The placement is where you have some trial and error. It kind of depends on how much space you want between the objects. If my flower was 1", I spaced over the 1" plus 1/4" and cut a second row. Then I moved up to the top of the page again and spaced over 1 1/4" and cut another row. I did this on a smaller 4x6 or 5x7 sheet first. I have cut 12x12 cardboard with the fill feature and that's pretty convenient to not have to do a lot of counting. Here's what a stencil will look like:
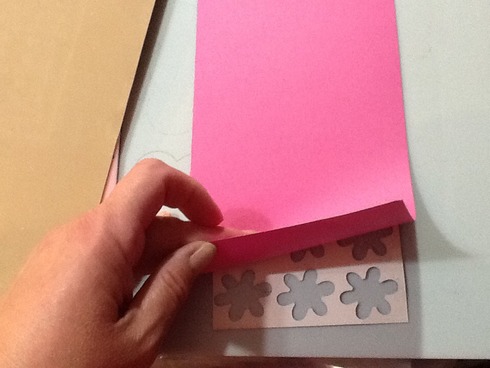
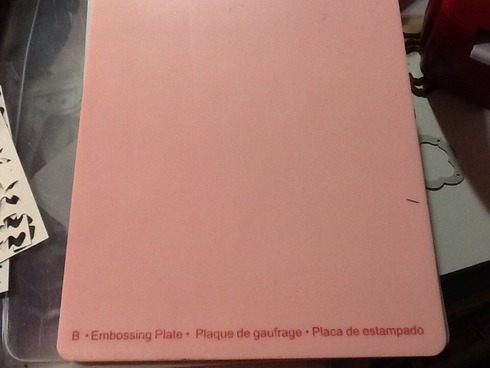
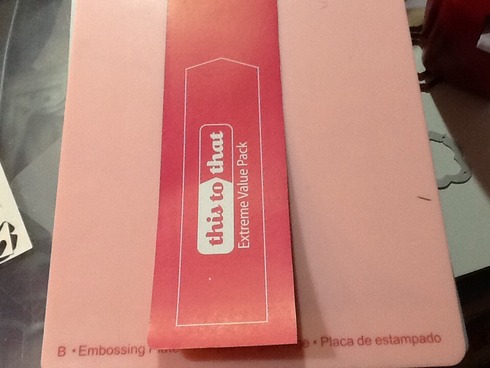
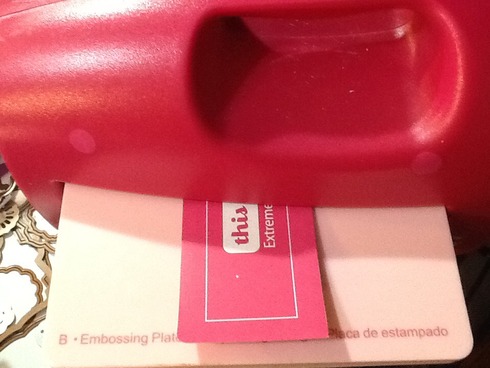
Take your stencil and sandwich it in your die cut / embossing machine. In the silhouette, it went base plate, stencil, paper, foam pad, embossing plate. I also added a piece of thin cardboard to the top before putting the sandwich in the cutter to make it tighter. You might have to do this or you might not.

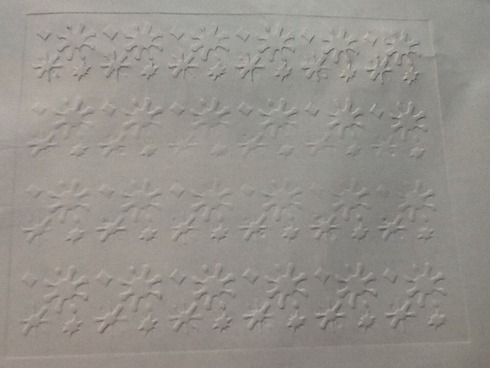
When I was doing the yellow one, the sandwich slipped a little, so the next time I taped the sides just a little. Some more examples:
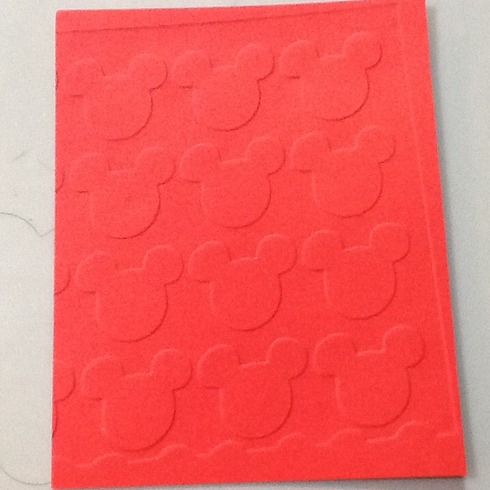
I found that very intricate cuts or very small cuts do not produce good results. Also I didn't make any cuts less than 1".
Hope you can try making your own stencils!
Christi S
I used the thin cardboard covers of paper pads and cereal boxes and my Cricut to make my stencils. I used the multicut feature to help cut through the thicker material and it worked great. So I had the Cricut cut a line of daisies through the cardboard. I repeated this until I had several rows of daisies cut from the cardboard. (The placement is where you have some trial and error. It kind of depends on how much space you want between the objects. If my flower was 1", I spaced over the 1" plus 1/4" and cut a second row. Then I moved up to the top of the page again and spaced over 1 1/4" and cut another row. I did this on a smaller 4x6 or 5x7 sheet first. I have cut 12x12 cardboard with the fill feature and that's pretty convenient to not have to do a lot of counting. Here's what a stencil will look like:
Take your stencil and sandwich it in your die cut / embossing machine. In the silhouette, it went base plate, stencil, paper, foam pad, embossing plate. I also added a piece of thin cardboard to the top before putting the sandwich in the cutter to make it tighter. You might have to do this or you might not.
When I was doing the yellow one, the sandwich slipped a little, so the next time I taped the sides just a little. Some more examples:
I found that very intricate cuts or very small cuts do not produce good results. Also I didn't make any cuts less than 1".
Hope you can try making your own stencils!
Christi S

