Rules and prize information can be found here: viewtopic.php?f=358&t=272593
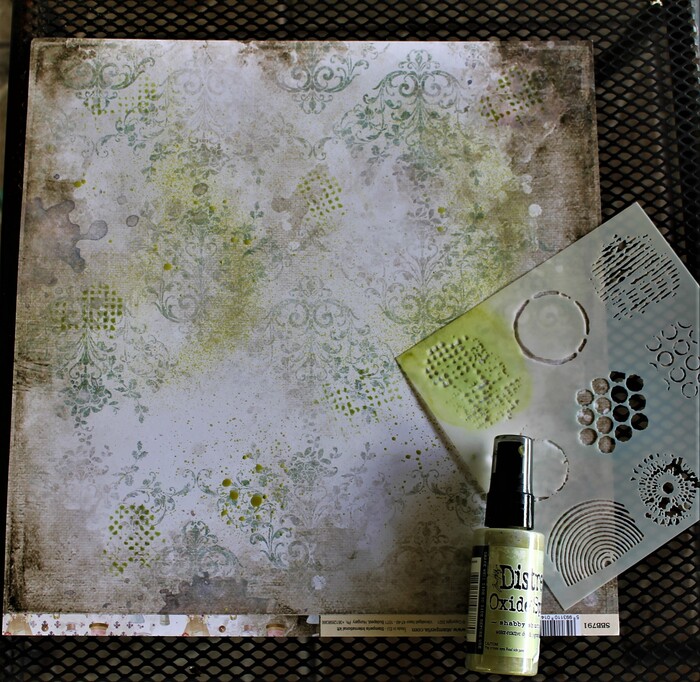
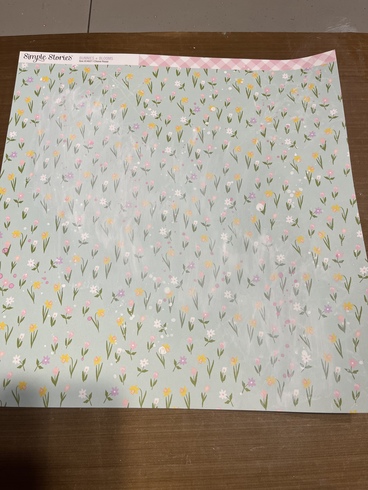
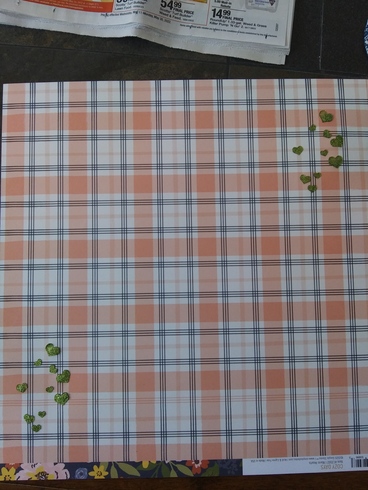
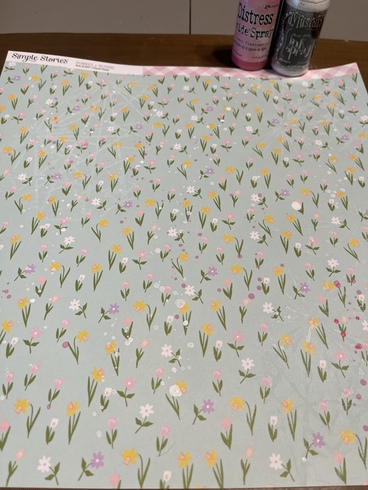
For this step, you will use the full size patterned paper that you chose for your kit and you will do something to it.
You can do anything you want to it, some examples are misting, stenciling ink, doodling, stamping, crinkling, etc
Keep the paper the full size of your layout, do not cut it smaller.
Take a photo of the altered paper, upload it to the gallery here at ACOT, link it into this thread, and tell us what you did to it.
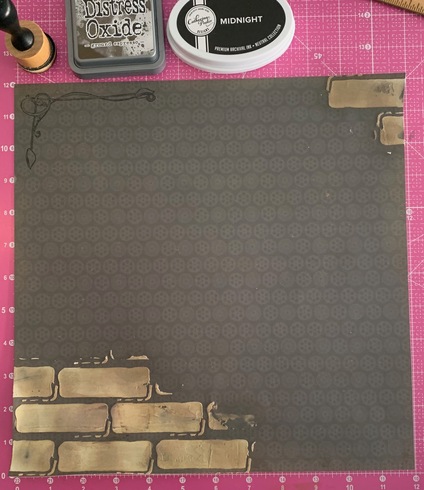
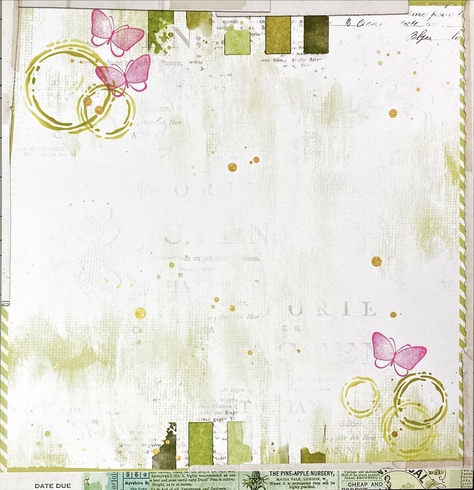
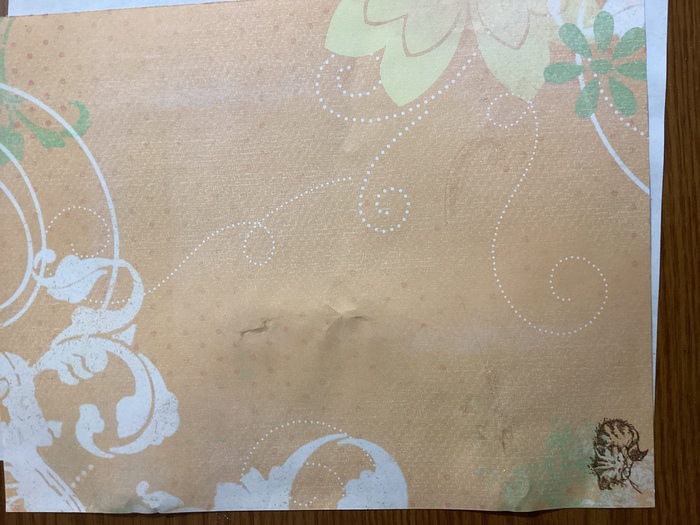
for my paper, I used a stencil and paste to add bricks in the corners. Then I used distress oxide ink and my blending tool to change the colors of the bricks. finally, I stamped an image in the corner:

Post your image to his thread by May 8 at noon eastern time for an extra entry into the draw. Otherwise, post your image to this thread before you do step 3.


 Kristin


