UPDATED Mother's Day (or whatever) Card Set Class List
Posted: Wed Apr 07, 2010 5:13 pm
I know Im excited about the upcoming NSD crop! Here is a little peek at the class that I will be teaching. We will be making 4 cards for Mother's Day using the seed paper available in the store so that our Moms can plant part of the cards to grow wildflowers. I have 4 people to make Mother's Day cards for, so I will be making all 4 of them Mother's Day cards, but we will be using tiny alphas so if you don't have that many Mothers you can make the other cards into anything you like. They would be perfect for thank you cards, or plain note cards, or birthday cards, or pretty much anything. (oh and there will be 2 bonus cards included in the class too! I just couldnt stop making cards, and I still had scraps, so I ended up with 6, but the final 2 have limited instructions.)
You will need:
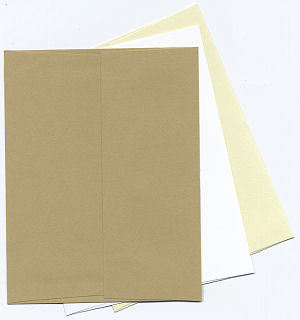
Envelopes (the cards will be made to fit in these envelopes but if you have other ones at home or even want to make your own envelopes that is fine too)
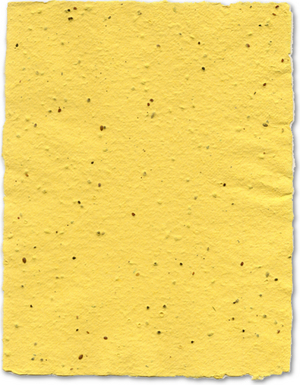
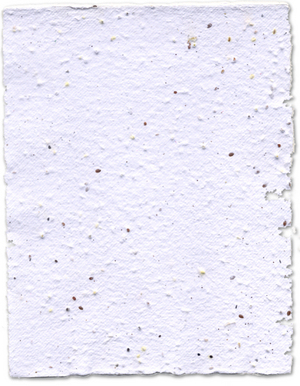
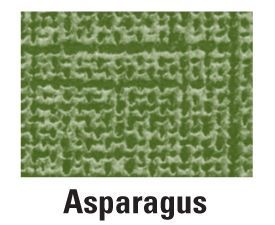
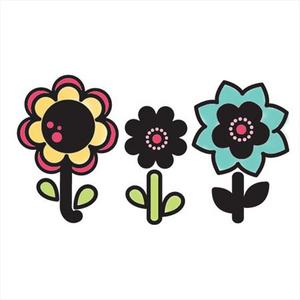
seed paper: I know these seem expensive, but we will be punching them and using small parts so you will have leftovers. (I decided against using the green because the color of the green seed paper didnt quite match the patterned paper that I chose. If you have the green paper, I had intended to cut leaves out of it. You could use it to make the flowers, or leaves and inking it would probably make it match just fine.)
cardstock for the card bases: (each sheet will yield 2 cards)
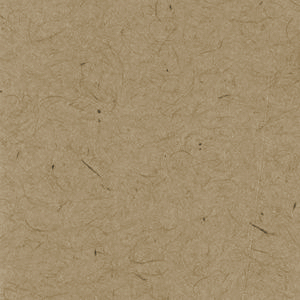
if the kraft is sold out, choose one of the 'related products' show on that page, that looks similar to the kraft color.
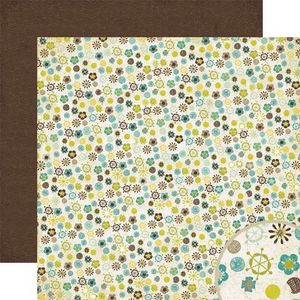
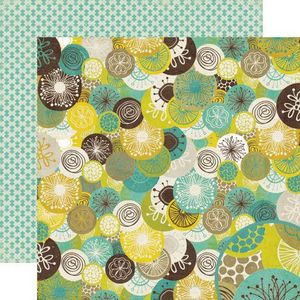
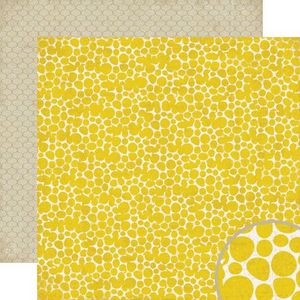
Patterned paper for accents:
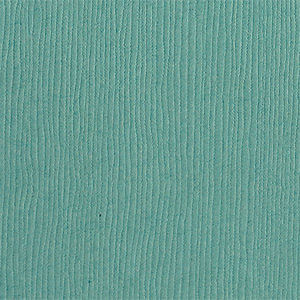
cardstock for layers and mats:
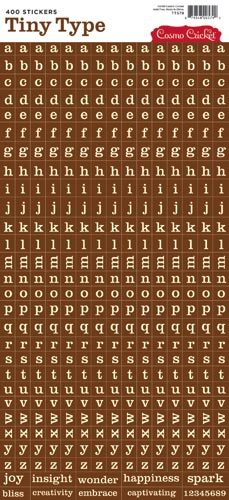
the letter stickers to make the sentiments:
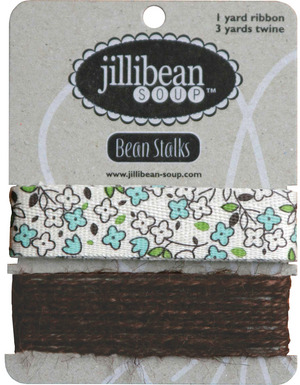
stamps and ribbon to add interest:
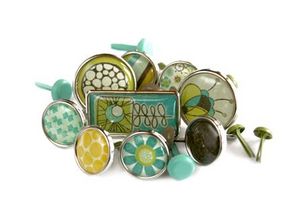
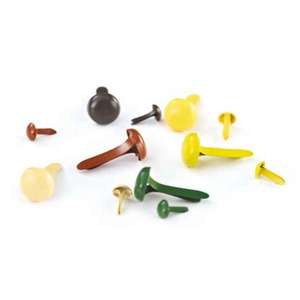
**Remember** you can substitute other products if these sell out or if you just wish to. Especially the ribbon and stamp - if you have any stamp of a flower (you just need the bloom not the stem) you can probably use that. You will definitely need the seed paper, however. I used 20 different brads that I gathered from my stash, but below are a couple of different suggestions of brads you can purchase here at ACOT if you don't have enough brads in your stash or if you think you don't have the right colors. (I used a variety of browns, tealish blue, and greens) I will also be using small circle and flower punches, ink (probably the colorbox cat eye brown), a printer and adhesive. If you don't have punches you can cut the flower pieces out by hand. If you don't have a printer, don't worry, that is only for the insides of the cards and you can do that later if you need to.
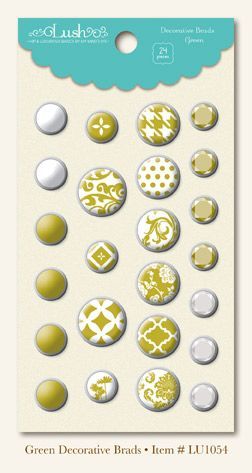
some brad suggestions (if you don't have a big enough stash to pull from - pick one):

these "lush' brads come in green, brown and blue, all of which would be appropriate for the cards we will be making.
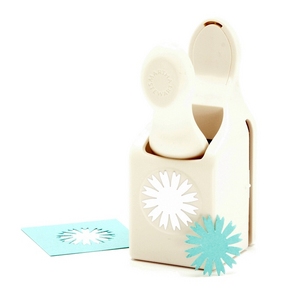
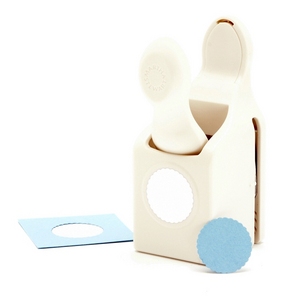
and here are a few ideas for punches. I like to layer circles with flowers, that are small and close in size. I have (and use in this class) along with a 1.5 in circle punch, these punches:

You will need:
Envelopes (the cards will be made to fit in these envelopes but if you have other ones at home or even want to make your own envelopes that is fine too)
seed paper: I know these seem expensive, but we will be punching them and using small parts so you will have leftovers. (I decided against using the green because the color of the green seed paper didnt quite match the patterned paper that I chose. If you have the green paper, I had intended to cut leaves out of it. You could use it to make the flowers, or leaves and inking it would probably make it match just fine.)
cardstock for the card bases: (each sheet will yield 2 cards)
if the kraft is sold out, choose one of the 'related products' show on that page, that looks similar to the kraft color.
Patterned paper for accents:
cardstock for layers and mats:
the letter stickers to make the sentiments:
stamps and ribbon to add interest:
**Remember** you can substitute other products if these sell out or if you just wish to. Especially the ribbon and stamp - if you have any stamp of a flower (you just need the bloom not the stem) you can probably use that. You will definitely need the seed paper, however. I used 20 different brads that I gathered from my stash, but below are a couple of different suggestions of brads you can purchase here at ACOT if you don't have enough brads in your stash or if you think you don't have the right colors. (I used a variety of browns, tealish blue, and greens) I will also be using small circle and flower punches, ink (probably the colorbox cat eye brown), a printer and adhesive. If you don't have punches you can cut the flower pieces out by hand. If you don't have a printer, don't worry, that is only for the insides of the cards and you can do that later if you need to.
some brad suggestions (if you don't have a big enough stash to pull from - pick one):
these "lush' brads come in green, brown and blue, all of which would be appropriate for the cards we will be making.
and here are a few ideas for punches. I like to layer circles with flowers, that are small and close in size. I have (and use in this class) along with a 1.5 in circle punch, these punches: