I'm going to start with the easiest one first and build on that one. I'll walk you through four different techniques for altering the glassware so you may want to wait til the end to decide which one you would like to do for yours!
I'd love to see what and how you alter your glassware so PLEASE post the results here when you are done.
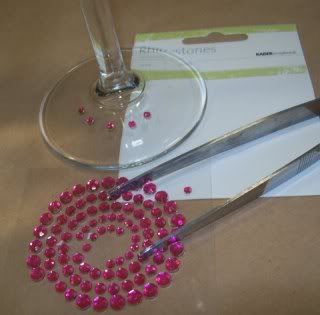
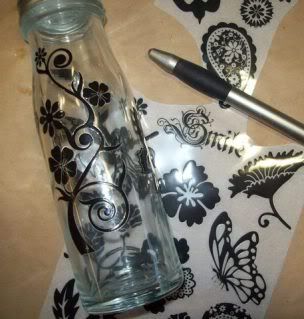
I found the following tools handy to have nearby: small tipped scissors, a paper piercer or craft knife or a toothpick, and a small tipped paint brush and tweezers.
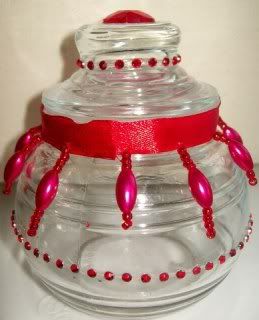
EASY Alter :
I used the strips of adhesive gems and wound them around the flat part of the jar. This jar is one that held Prima flowers that I had on hand. I used the craft knife to pat the strip into place to make sure it adhered completely. I added other gems on the top and used a clear drying glue like Scrappy Glue. I coated the back of the ribbon LIGHTLY with the glue and have also used the red double sided tape to adhere the ribbon as some glues bleed through.
Feel free to ask any questions about any part of this.
SECOND Easy Alter: I used the BG bling which is self adhesive and used the toothpick or the tweezers to pat it into place for maximum adherence. I used the tweezers to pick up the individual gems, dip them in the clear drying glue and place them on the base where I wanted them.
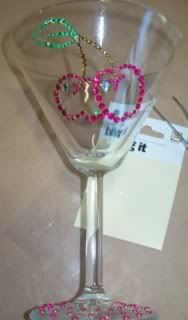
I used the same technique to wind the ribbon around the stem as I did for the EASY Alter
I added gems to the ribbon once it had set up using the pre adhesive ones by BG or Kaiser or you can add them one by one as I did for the base of the glass.
I'm going to stop here for any questions before going on to the Intermediate Alter
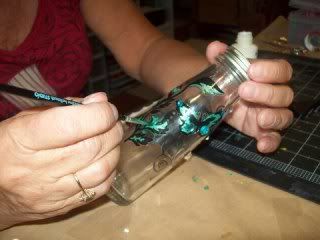
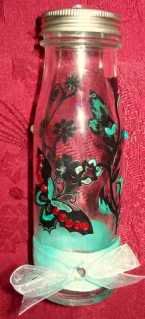
INTERMEDIATE alter: This one uses a Prima glass also but one of a different shape. I used the sticker rub ons but any rub on will work. I placed the designs so they show through on both sides and all around the glass.
Next I added the bling in the same manner I did above in the Easy alter.
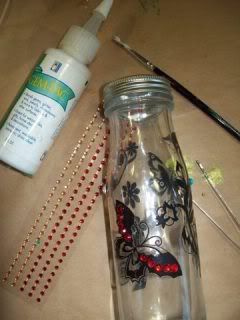
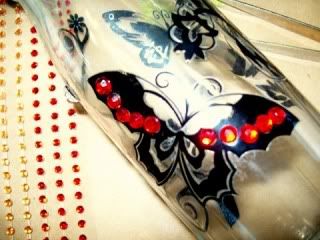
I used a metallic paint (acrylic) and applied a couple of complimentary colors to the rub ons with the small tipped paint brush. I found that dabbing the color on rather than brushing it on helped tons. Remember this is glass and the paint is easily removed with a little dab of water and a q tip.
I added some ribbons and gems to finish off the bottle.
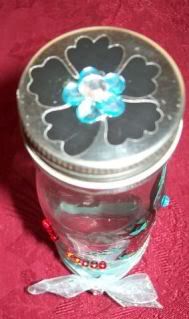
and the top
Once again. I will stop for questions before I move on to the last technique and show you some alternate ideas.
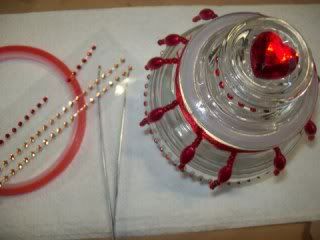
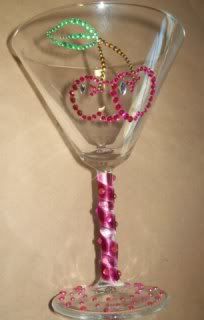
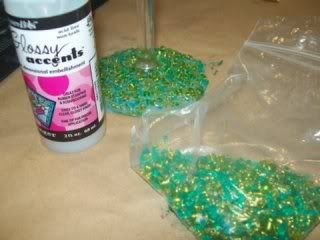
ADVANCED technique: for this one you will need a metallic paint (acrylic), a sponge brush, and a swirly motion for applying the paint, beads, gems and trim. I'm posting the finished product first and then I'll walk you through the steps
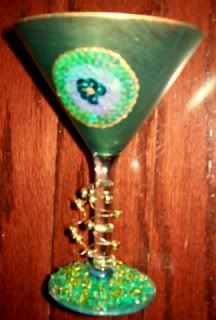
The Base of the glass: I used a generous amount of Scrappy Glue and applied it with a sponge brush to the base. I poured the beads over the base until they covered it and patted them into place using the craft knife and my fingers. I allowed this to set up for about 15 min. and then poured 3 D Crystal Lacquer or Glossy Accents over the entire thing wiping up the drips. This ensures the beads will not fall off.
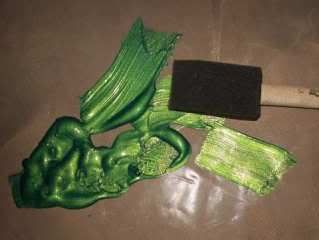
Now for the fun part: painting the inside of the glass. This can be a bit of a pain but remember that if you do not like the results, you can just wipe the paint off with a damp rag and start over.
While any acrylic paint will work, I prefer the metallic ones as the colors appear more like spun glass or stained glass.
I dip the sponge brush into the paint and starting as the inside bottom I swirl the paint onto the glass in a circular motion. I continue until the inside is coated and then I allow the paint about a minute and go back with the brush and swirl more to allow some of the glass to show through.
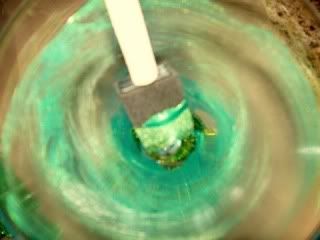
It takes about 24 hours for the paint to completely set up. You can not wash this even then or the paint will peel off. There is a glass sealer in the paint section of the craft store that you can coat the finished glass with and then it can be wiped with a damp cloth without losing the color.
I finish the glass off by wrapping wire around the base upon which I have strung some glass beads and adhering a decal on the front. I edged the rim with gold paint and love my Krylon for this.
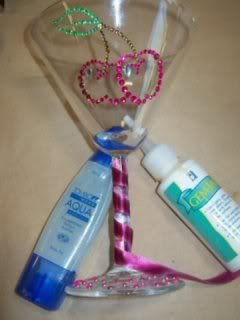
Here are a few variations of the techniques
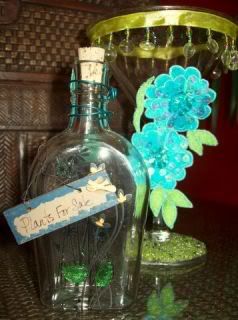
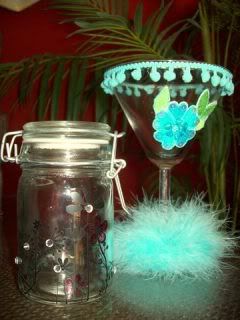
I really like the one with the feathers! I fill these with candy or pretty bubble baths and give them as gifts. Hope you enjoyed this and find something here you can use!
 WAS a TIKI BAR GIRL AND ALWAYS WILL BE