
For this challenge, you will be making a scrapbook page or planner page or art/traveler journal page, etc but it must have photos. Open to paper and digital.
For step 1:
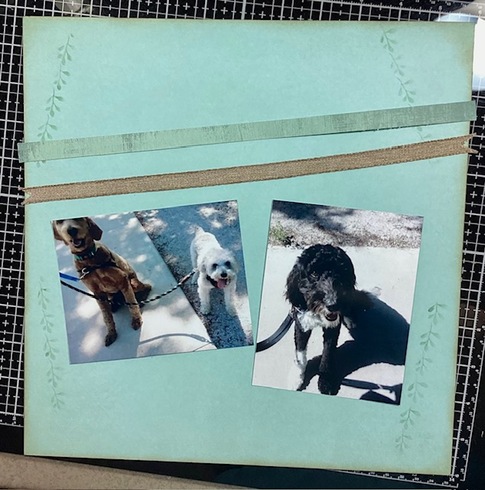
- decide on the size of your page
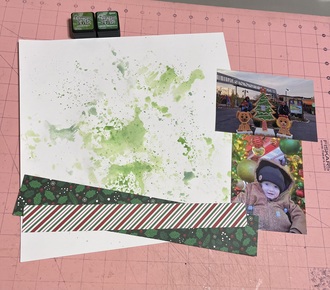
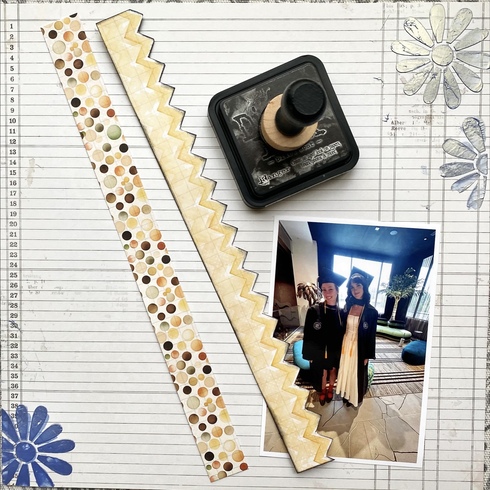
- choose your photos. You must have at least one photo but you can have any number that will fit on the page. We will be journaling later so choose photos where you have something to say.
- Choose your background paper, I suggest a subtle print but choose whatever you want, patterned or solid
- From another paper, cut a strip of paper that is either the length or width of your size, we will call this "strip 1" and it must be a rectangle that goes the full length or width of your project. You may ink or distress the edges of this if you want, but do not do anything else to it. If you want to ink or distress the edges of this strip, do it with this step, you will not have another chance. Strip 1 may be a narrow as you want but not wider than 2 inches.
- For your second strip, which we will call "strip 2" you have more flexibility. Cut a strip of paper or choose some other material such as fiber or ribbon and cut a strip which is at least 90% of your length or width. You may do whatever you want to strip 2 including fishtail ends, using a border punch, keeping it extra long so you can pleat it later, etc. Strip 2 may be as narrow as you want but not wider than 2 inches.
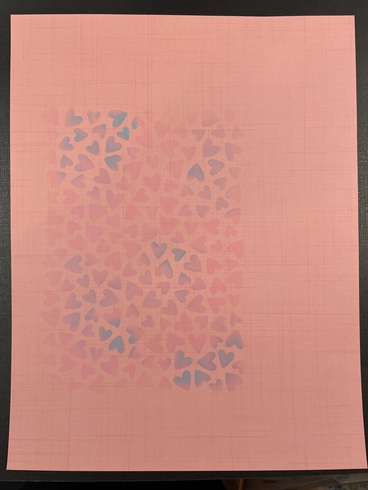
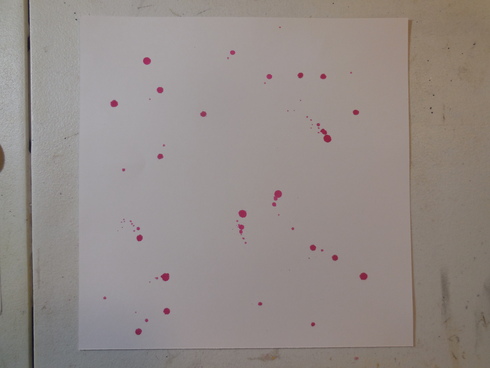
- Optional - you may do one of the following things to your background paper: apply any type of paste or ink through a stencil, apply any type of spray, stitch, doodle (if you want to do this, you need to do it now, you will not have another chance).
- Do not save your space or edit your post in this thread. If you make a mistake in a post, just post again.
- Do not adhere anything together at this time.
- If you have a question ask
- Take a photo or photos of what you have chosen and let me know how you've addressed each of the items 1-6 above if not obvious from the photos and include the information in this thread.
- Each person who posts to this thread before step 2 is posted next Monday July 8 will receive one entry into the prize draw.
- If you miss the deadline, you can continue to participate but you should still post step 1 to this thread before continuing onto step 2.
- UPDATE you may combine with monthly challenges and one other challenge that allows it, BUT NOT UNTIL STEP 4!
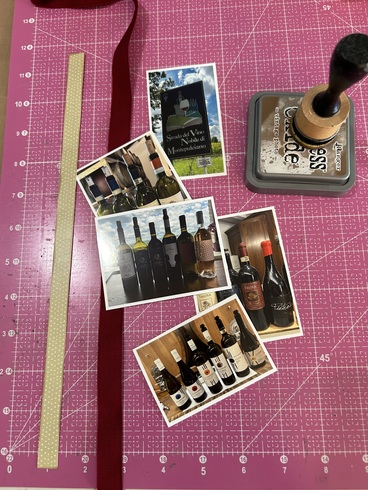
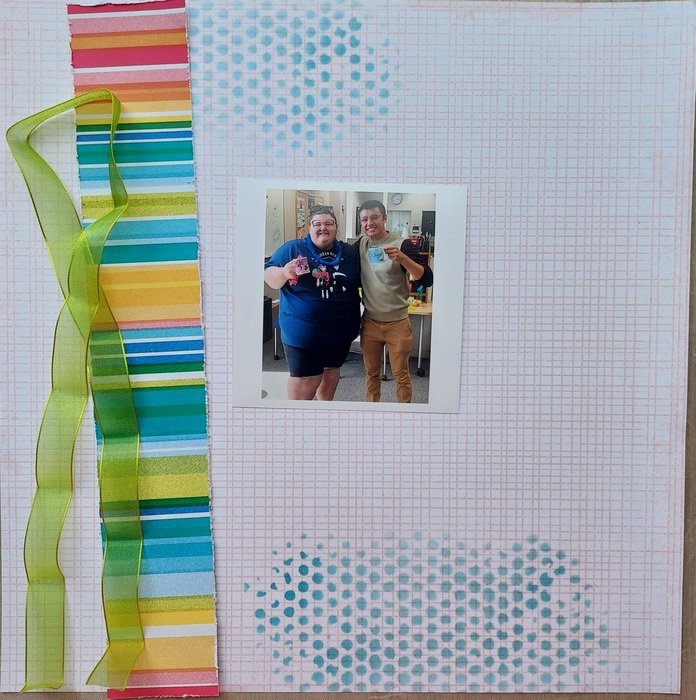
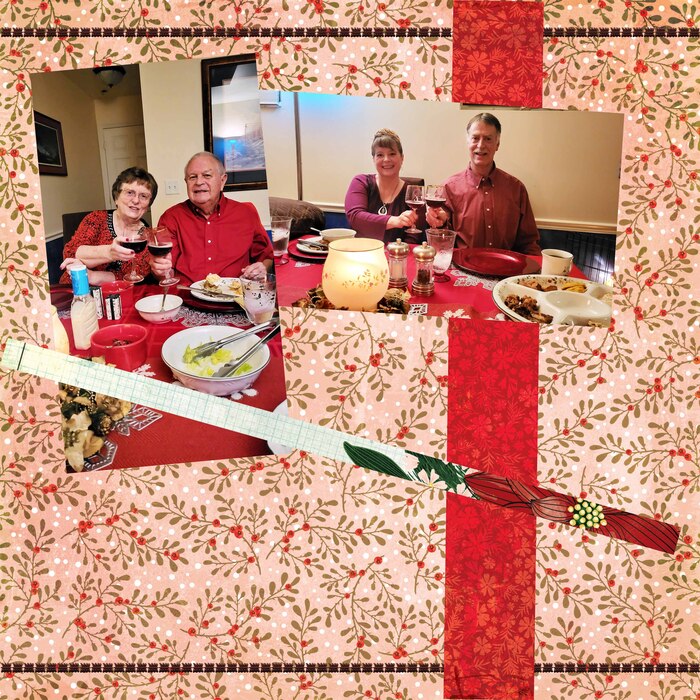
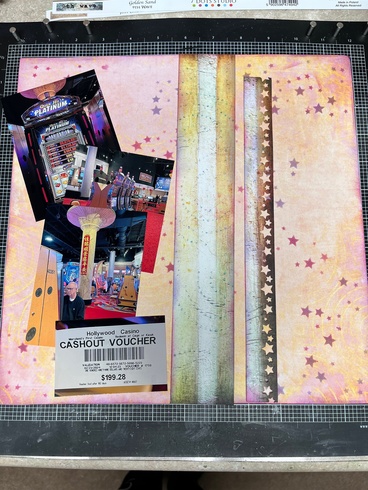
My size will be 12x12
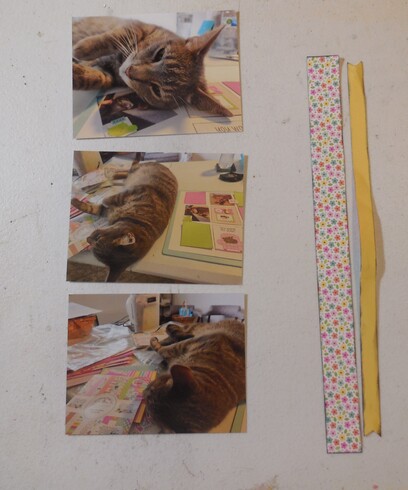
Here are my photos (I happen to have 5 small ones, you can have as few as 1)
Strip 1 is the beige, it is 12 inches long (it's a cutoff strip) and I inked the edges with the brown ink shown
Strip 2 is a ribbon and I have left it long, I will cut it down later in case I want to pleat it or knot it
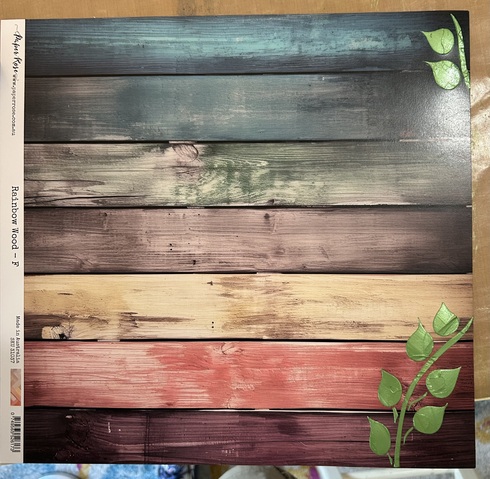
Here is my background paper, and I used lunar paste through a stencil to make the leaves in the corners


